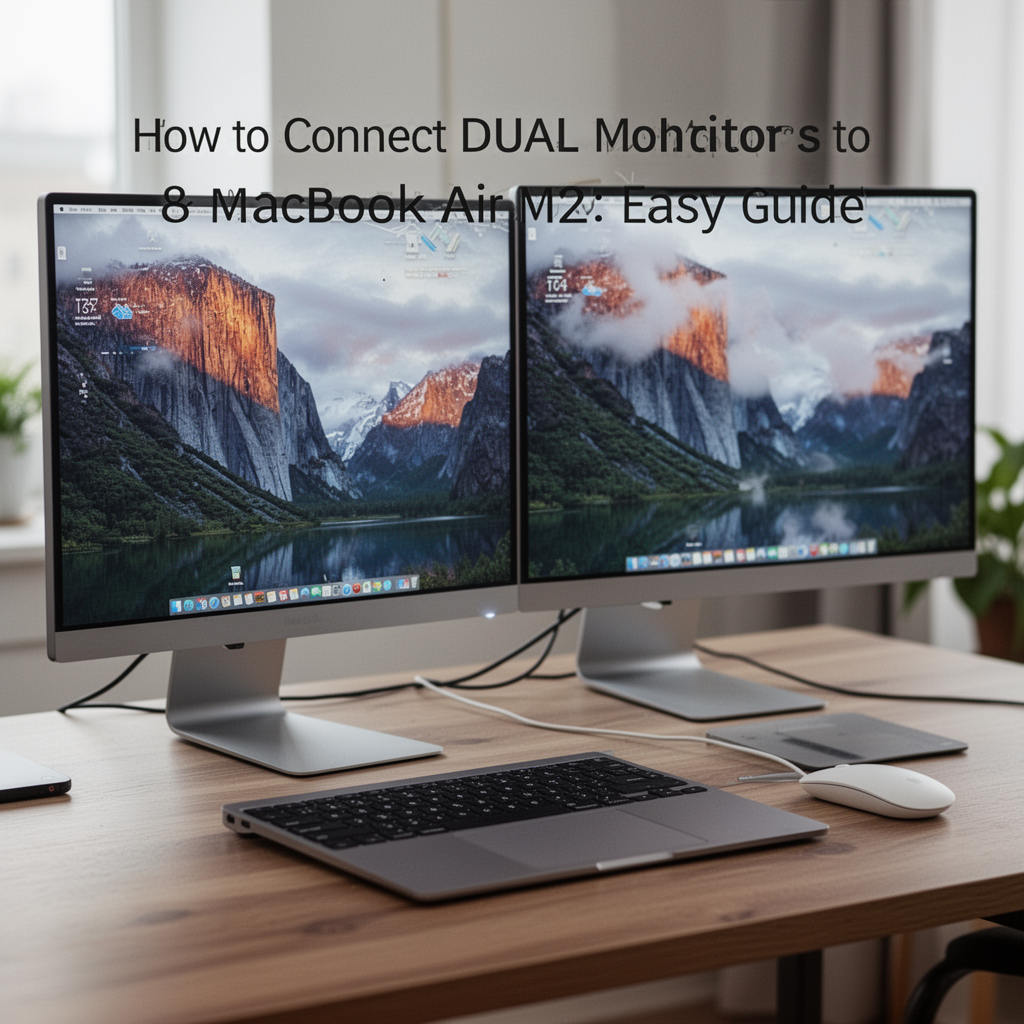
The MacBook Air M2 is a marvel of modern engineering, offering incredible performance, a stunning Liquid Retina display, and industry-leading battery life. However, there is a notorious limitation: Apple’s base M2 chip natively supports only one external display. For professionals, creative freelancers, and multitaskers who rely on a dual-monitor setup to manage workflows, this limitation can feel like a major roadblock.
If you have ever found yourself constantly switching between browser tabs or struggling to organize complex project windows, you know the frustration. The good news? You don't need to upgrade to a MacBook Pro to get a dual-screen experience. By utilizing specialized display technology and the right accessories, you can bypass this restriction and transform your workstation into a powerhouse of productivity. In this guide, we will walk you through exactly how to bridge that gap and set up a professional dual-monitor environment for your MacBook Air M2.

KardiaMobile 1-Lead EKG Monitor, Medical-Grade FDA-Cleared Personal Heart Monitor, Detects Normal, AFib & Arrhythmias, 30 Second Results, Works with Smartphones, Pocket Size, No Subscription Required
Why a Dual Monitor Setup Matters
For most users, a single screen is simply not enough. Research consistently shows that dual-monitor setups can increase productivity by up to 40%. When you are working on the MacBook Air M2, having a secondary or tertiary screen allows you to keep your primary communication tools (like Slack or Email) on one side, while your creative software—like Adobe Premiere, Excel, or coding environments—occupies the main screen. This minimizes "context switching," which is the biggest enemy of deep work.
Tools and Materials Required
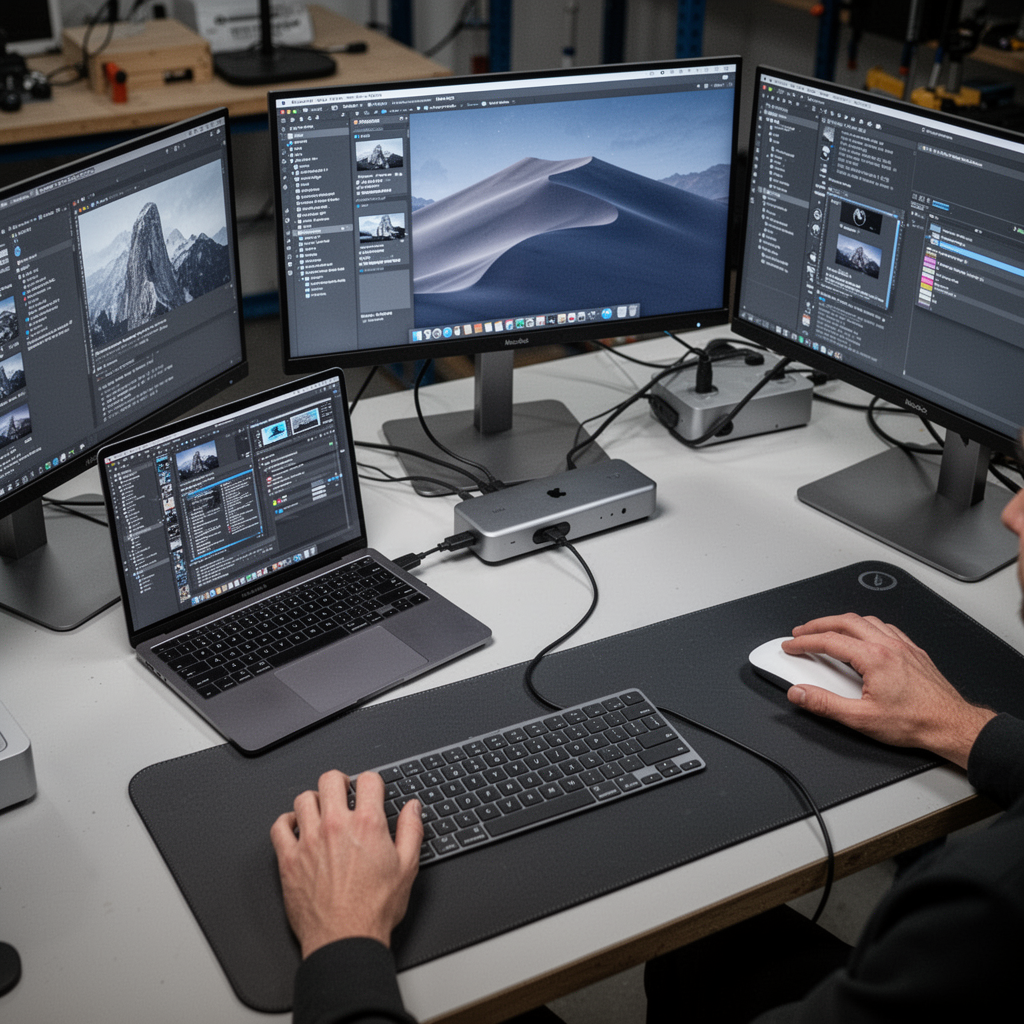
To get around the native single-display limitation of the M2 chip, you cannot rely on simple "daisy-chaining" through standard USB-C hubs. You will need:
- A MacBook Air M2 (Base model or otherwise).
- DisplayLink-Certified Docking Station: This is the most crucial component. DisplayLink technology uses specialized software to compress and send video data over USB, effectively bypassing the M2 chip's single-monitor limit.
- Two External Monitors: Ideally, these should have HDMI or DisplayPort inputs.
- High-Quality Cables: Ensure you have the right HDMI or DisplayPort cables that support your monitors' resolution and refresh rate.
- DisplayLink Manager Software: The free driver required to make the docking station communicate with your Mac.

LC-dolida Sleep Headphones, 3D Sleep Mask Bluetooth Wireless Music Eye Mask, Sleeping Headphones for Side Sleepers Sleep Mask with Bluetooth Headphones Ultra-Thin Stereo Speakers Perfect for Sleeping

Step-by-Step Tutorial: Connecting Dual Monitors
Step 1: Install the DisplayLink Manager Software
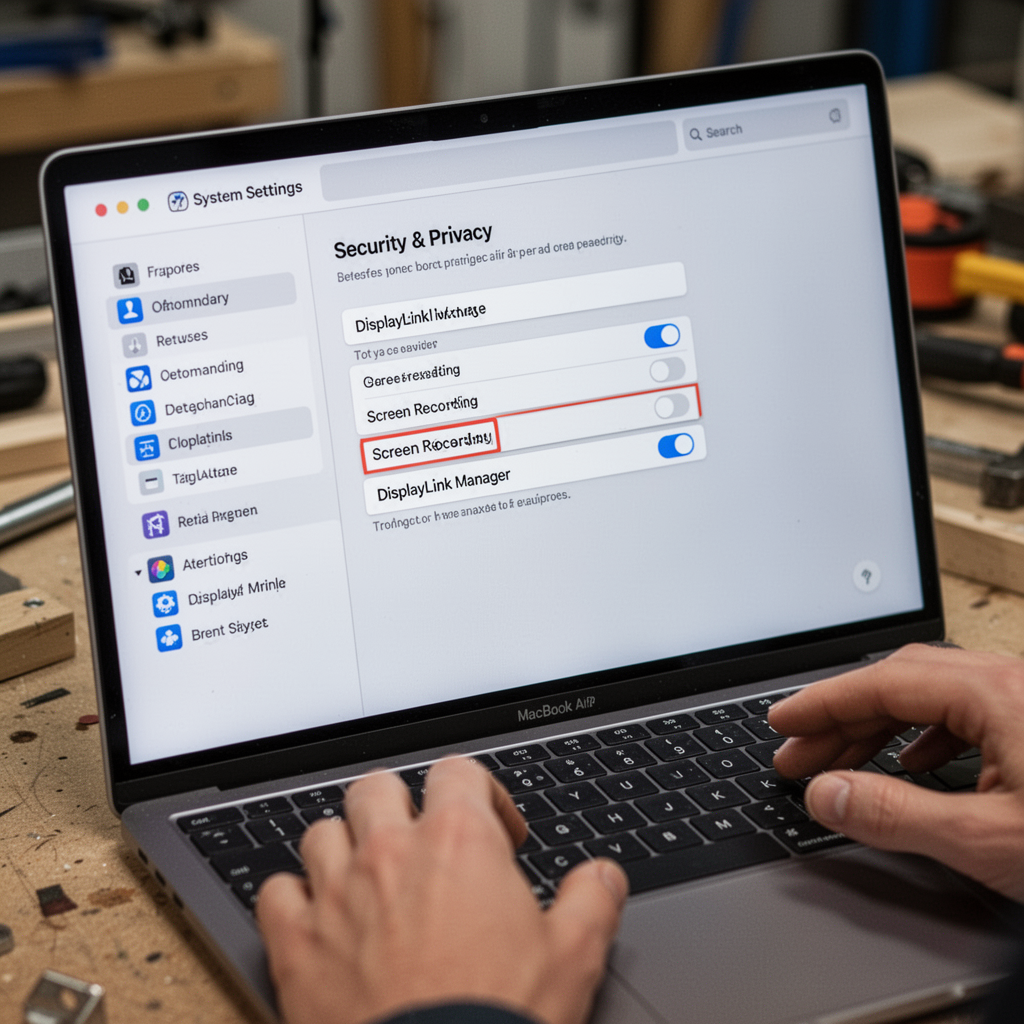
Before you plug anything in, you must prepare your Mac. Because you are using a non-native hardware extension, your Mac needs instructions on how to handle the video signals.
- Visit the Synaptics website and download the latest DisplayLink Manager driver for macOS.
- Install the package and grant the necessary "Screen Recording" permissions in System Settings (this is required for the software to "capture" the screen data and send it to the monitors).
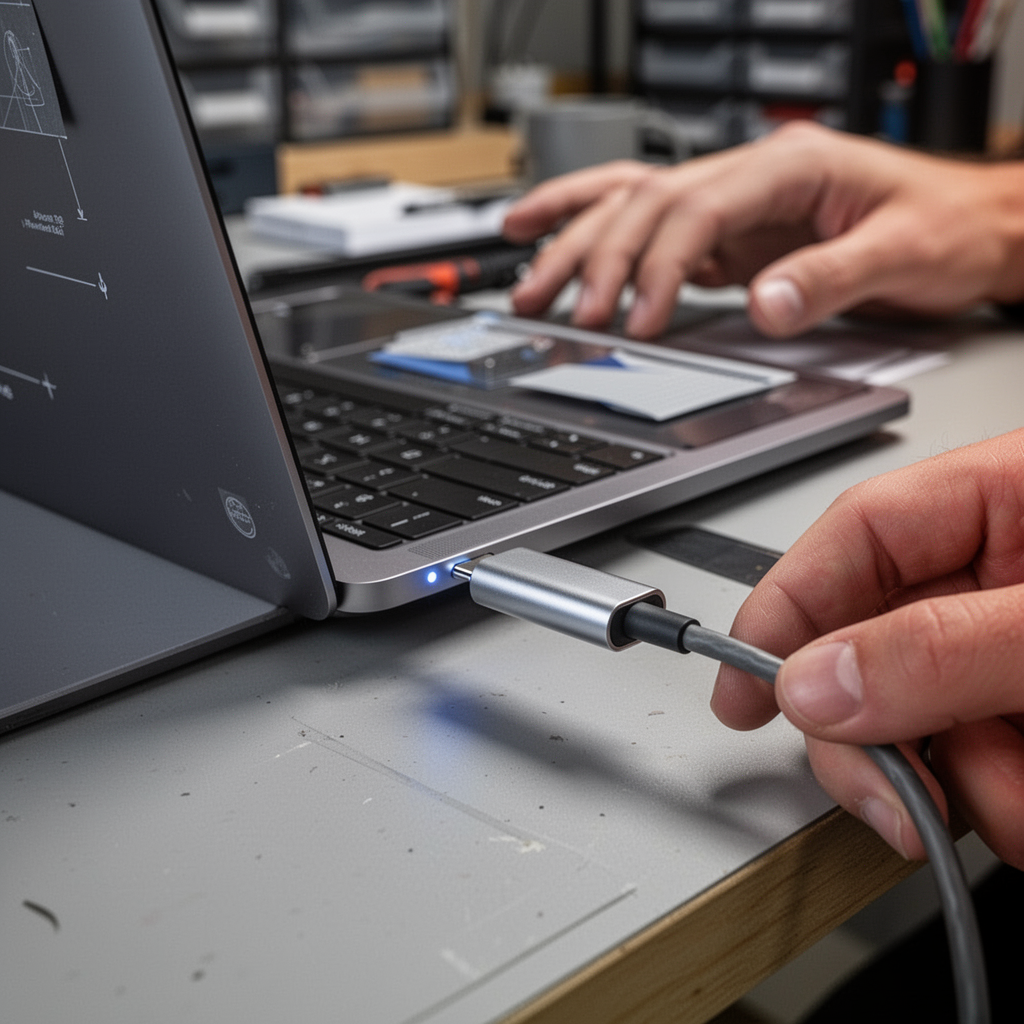
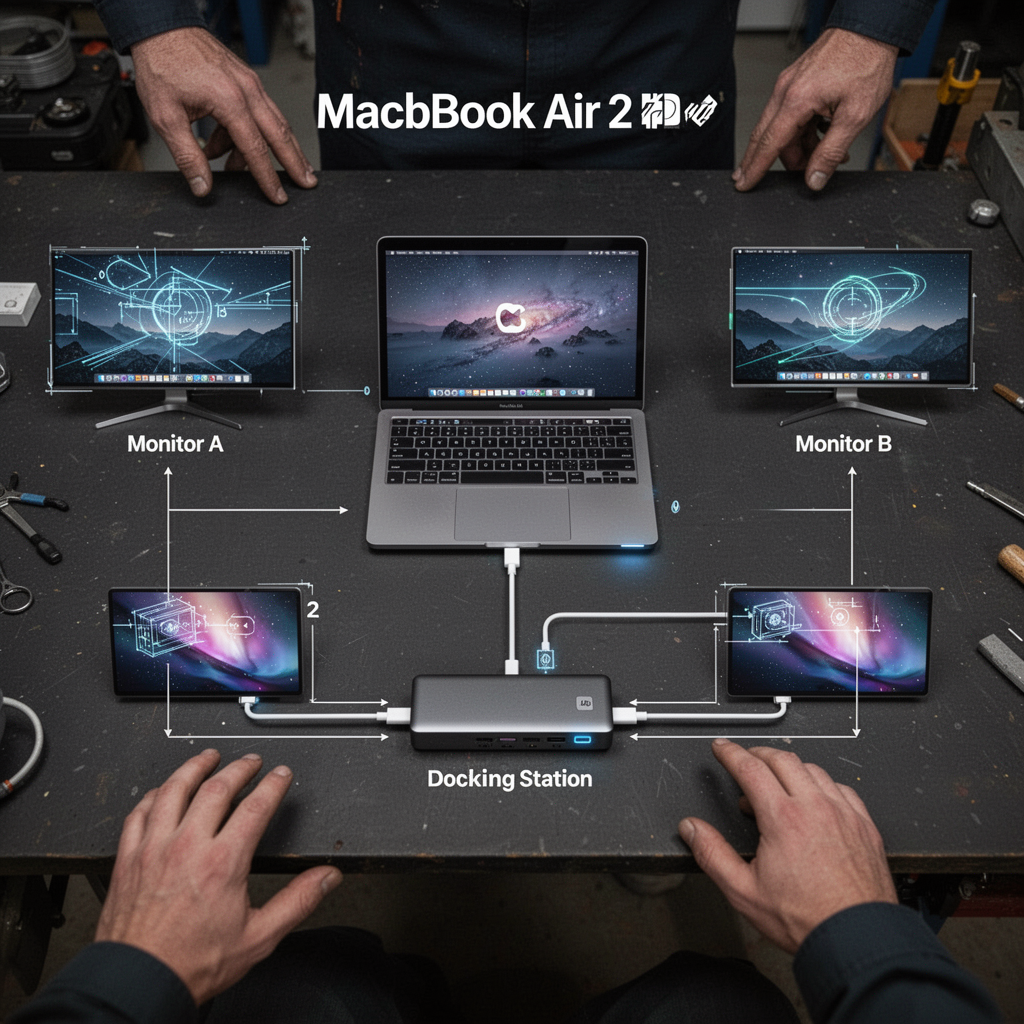
Step 2: Set Up Your Docking Station
Connect your docking station to a power outlet. Use the provided Thunderbolt/USB-C cable to connect the dock to one of the two Thunderbolt ports on the side of your MacBook Air M2.
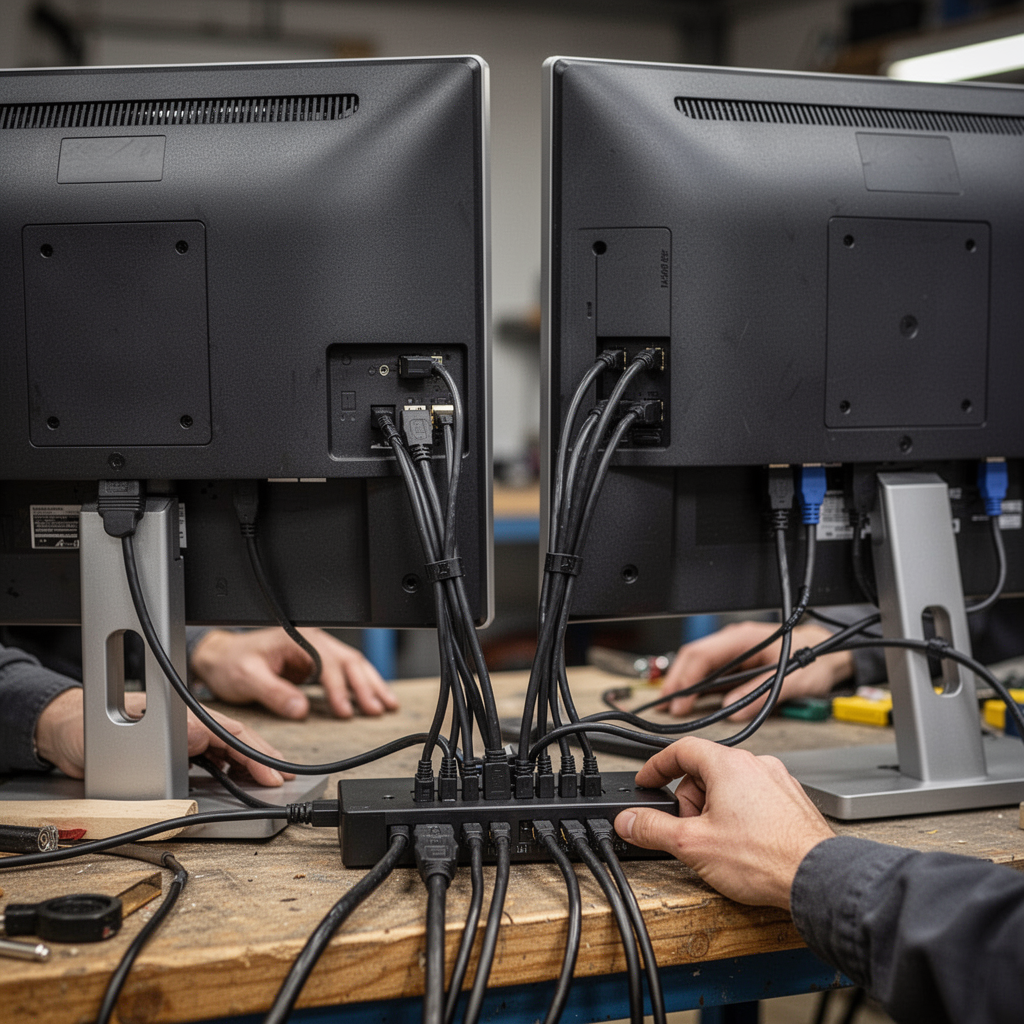
Step 3: Connect the Monitors
Plug your two monitors into the docking station using your HDMI or DisplayPort cables. Ensure both monitors are powered on and set to the correct input source.
Step 4: Configure Display Arrangement
Once connected, go to System Settings > Displays. You should now see both external monitors listed alongside your MacBook display. You can drag and drop them to match the physical layout on your desk. Ensure that "Extended Display" is selected rather than "Mirroring."
![]()
Beginner Tips and Common Mistakes
- Check Refresh Rates: Many budget docks cap output at 30Hz, which looks "choppy." Look for docks that specify "4K at 60Hz" support.
- Don't Use Cheap Hubs: A $20 Amazon hub will not work for dual monitors on an M2 chip. You must buy a DisplayLink-certified device.
- Cable Quality Matters: Always use the cables that came with your monitors or high-bandwidth certified cables to avoid flickering or signal drops.
- Avoid "Mirroring" by Mistake: Many beginners leave their displays in "Mirror" mode, which displays the same image on both screens. Always set them to "Extended Desktop" for maximum space.
Frequently Asked Questions (FAQ)
- Why can't I just use a regular USB-C splitter? The M2 chip lacks the internal hardware bandwidth to drive two distinct video signals through a simple splitter. You need a processor (DisplayLink) in the dock to create the extra video output.
- Does this work with gaming? DisplayLink is great for productivity and office work, but it is not ideal for high-end gaming or professional video editing on the secondary screens, as there can be a slight latency.
- Will my Mac battery drain faster? Yes, driving multiple high-resolution displays requires more processing power, which will use more battery. It is recommended to keep your MacBook Air plugged into power while using external monitors.
- Do I need to pay for DisplayLink software? No, the DisplayLink Manager is free to download and use.
- Can I use three monitors? Yes, some powerful DisplayLink docks support up to three external displays, though this requires significant bandwidth.
- Will this work with the MacBook Air M1? Yes, the same principles and DisplayLink requirements apply to the M1 series as well.
- Do I need a special cable for the dock? Always use the USB-C/Thunderbolt cable that came with your dock. Using a generic charging cable may not support data transfer.
- What if the monitors are not showing up? Check that you have authorized the "Screen Recording" permission in System Settings. This is the most common reason for a blank screen.
Blueprint: Technical Project Layout
Safety Tips
- Power Management: Ensure your docking station is plugged into a surge protector to protect your MacBook and monitors from voltage spikes.
- Cable Strain: Avoid bending cables at sharp angles near the connectors; this can cause internal wire breakage and "flickering" issues over time.
- Heat: Ensure your MacBook Air has enough airflow. While it is fanless, running two extra monitors can cause the internal components to heat up more than usual during intensive tasks.
Conclusion
Connecting dual monitors to a MacBook Air M2 is not only possible; it is a game-changer for your daily workflow. While Apple’s native software limitations might seem intimidating, the combination of a high-quality DisplayLink docking station and correct software configuration creates a seamless, expanded desktop experience. By following this guide, you can unlock the full potential of your M2 chip without needing to purchase an expensive hardware upgrade.
Remember, the goal is to create a workspace that minimizes friction. Start with the right equipment, prioritize stable connections, and enjoy the massive boost in productivity that comes with having enough screen real estate to breathe. Ready to upgrade your setup? Invest in a reliable dock today and see the difference for yourself. Happy multitasking!